Care & Feeding | Changing Strings
Ensure that your instrument sounds at its best by changing the strings every 1-3 months depending on how frequent you use your instrument. Changing your strings religiously will alleviate you from problems such as intonation and buzzing. Custom Series and Private Collection guitars are strung best with Elixir Nanoweb Phosphor Bronze Light 0.012-0.053. Elite Series acoustic guitars are strung with D’Addario EXP 16. Maestro Classicals and Ukuleles are strung with Aquila Super Nylgut strings.
Change your strings every 1 to 3 months depending on your frequency of use to prevent intonation and buzzing issues.
Guidelines when Changing Your Strings
- Lie your instrument on a stable and clean surface free from anything that may scratch the instrument. You can use headrest to secure your instrument on the table.
- Be careful when removing old strings from the machine heads. The tip can easily pierce the skin if caution is not exercised.
- Exercise extra caution when using a sharp tool when removing the bridge pins such as cutter or fliers to prevent damaging or cutting the head of the bridge pins.
- We recommend that you use the same string gauge for a different string gauge might require a setup. Consult your guitar technician whenever you are changing to a different string gauge.
- Using a thicker string gauge may affect the structural integrity of your instrument. Consult your technician before stringing your instrument with a thicker string gauge.
- If your instrument is equipped with an under saddle transducer such as L.R. Baggs Element, do not remove the saddle. Improper placement of the saddle may cause an imbalance pickup sound.
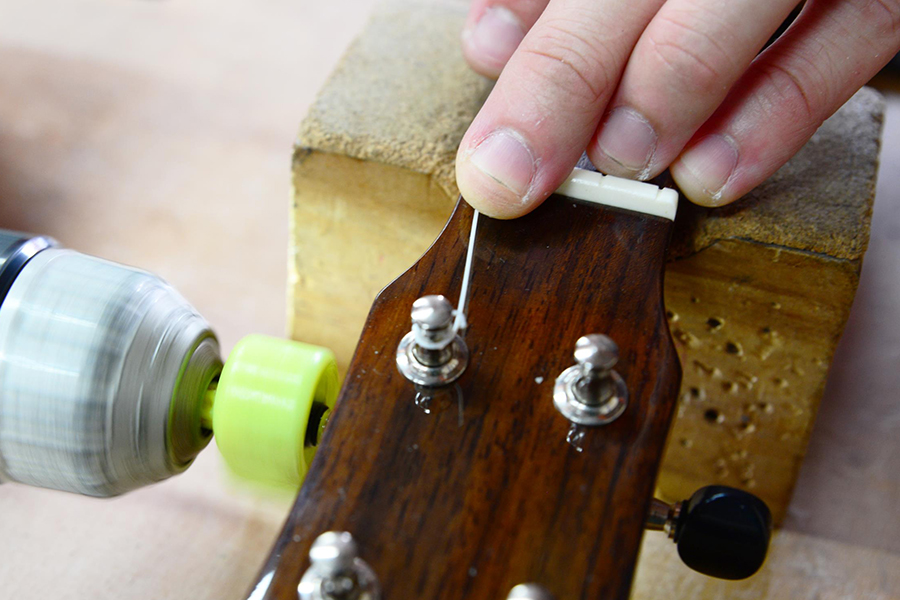
- Make sure to cut the strings before winding to prevent scratching the headstock.
Changing Strings | Acoustic Guitar
- Unwind all strings one by one; be careful when doing this as fatigued strings has a tendency to snap when undergoing sudden changes in tension.
- Using a bridge pin puller, remove the bridge pins from their slots. You may use a string cutter as an alternative, but this is not recommended if you’re comfortable with it as it may scratch the finish.
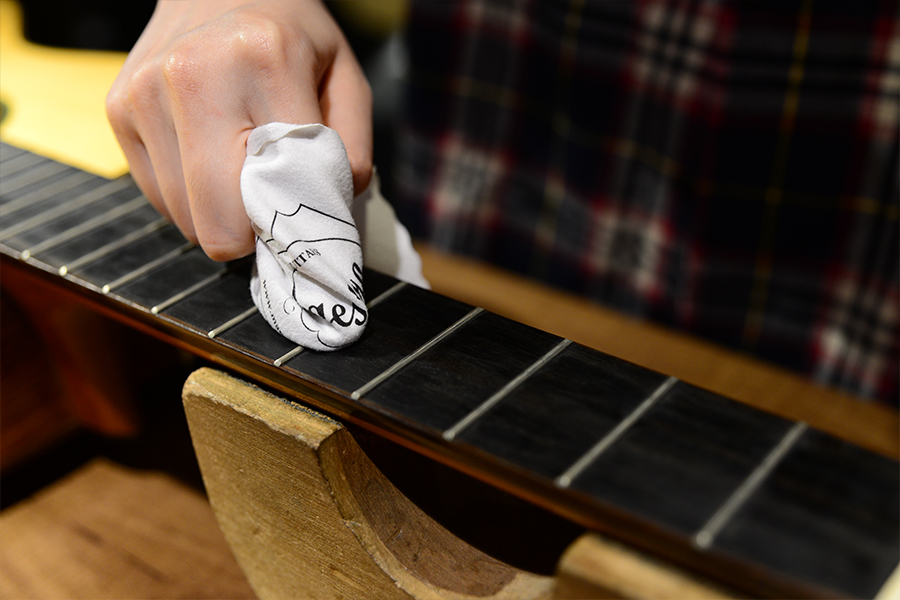
- Clean the frets and fretboard of any grime or dirt that may have accumulated through playing. You may use a cloth to wipe the board down, or some steel wool to restore some shine to the frets.
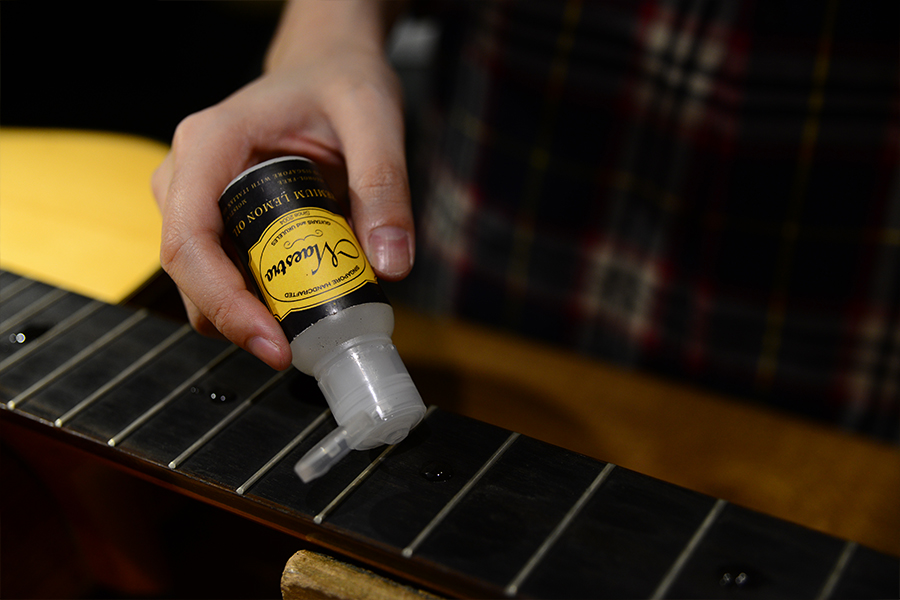
- Do remember to condition the fretboard. Dry fretboards are the number one cause of splits or cracks in fretboards. We recommend using some lemon oil or all in one cleaning and conditioning products such as Fret Butter, both of which are available for purchase through our online store.
- After the guitar is cleaned, insert the strings into their respective slots with the bridge pins. Tug lightly to let the strings lock in with the pins on the bridge.
- Do ensure that the bridge pins are securely seated in the slot to prevent the bridge pins from popping out during tuning, as this may cause injury.
- Once all the strings are properly seated in the slots, it is time to wind them on the tuning machines.
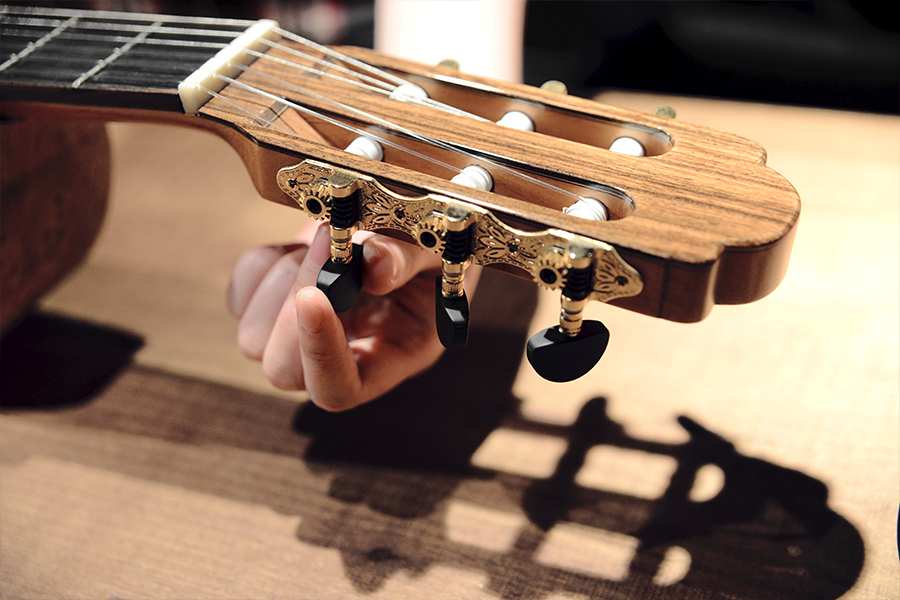
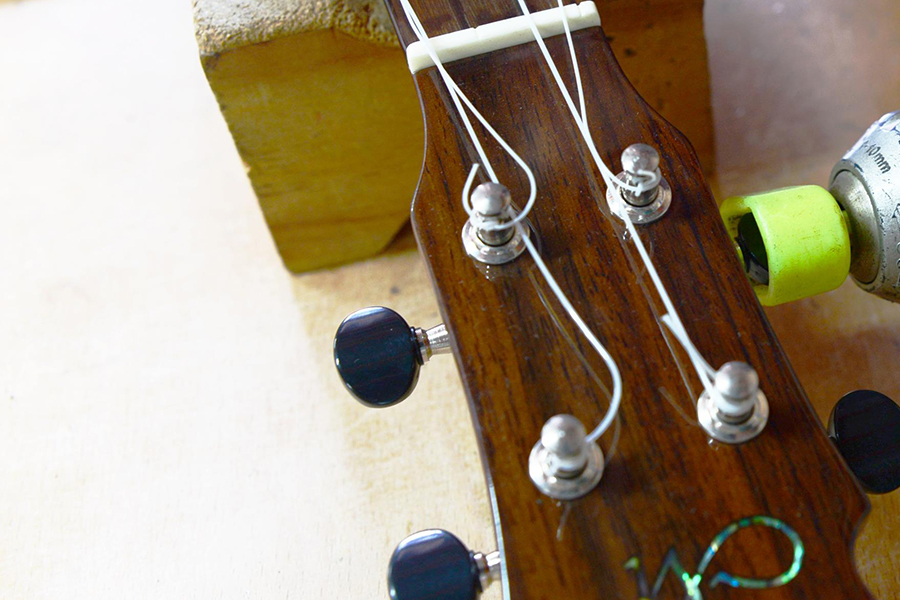
- Insert the entire length of excess string into its respective post, pulling back about 1.5 to 2 frets of length to ensure that there are enough winds.
- Kink the excess string sideways to prevent too much movement of the excess as you start turning the posts. This makes winding easier as well as it helps to minimize slippage during winding.
- Before winding, make sure that you maintain some tension by tugging the string to ensure that it will wind neatly downwards.
- You may use a strings winder, or you may do it manually, wind the string, making sure that the winds go downwards.
- Continue winding the string along the post until there is some tension on the string for it to stay on comfortably. We recommend about 2-3 winds per post, with more winds on the G and high E strings, as this will help prevent the strings from breaking prematurely.
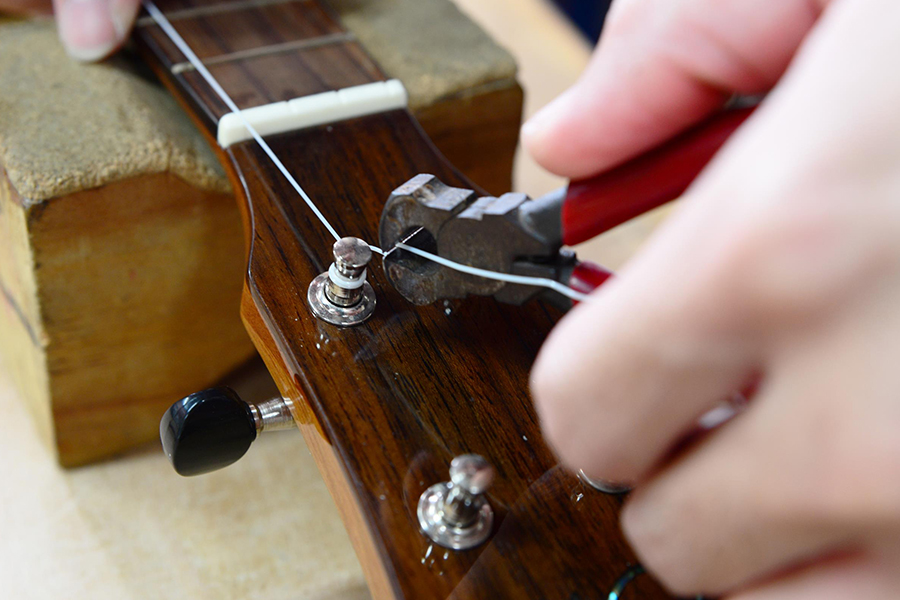
- After the desired number of wounds has been achieved, cut off the excess with a string cutter.
- Repeat the last step for the rest of the strings, bearing the precautions regarding the G and High E in mind.
- Do be careful when cutting the string; be sure to cut them at an angle to prevent the strings or the string cutter from damaging the finish on the headstock.
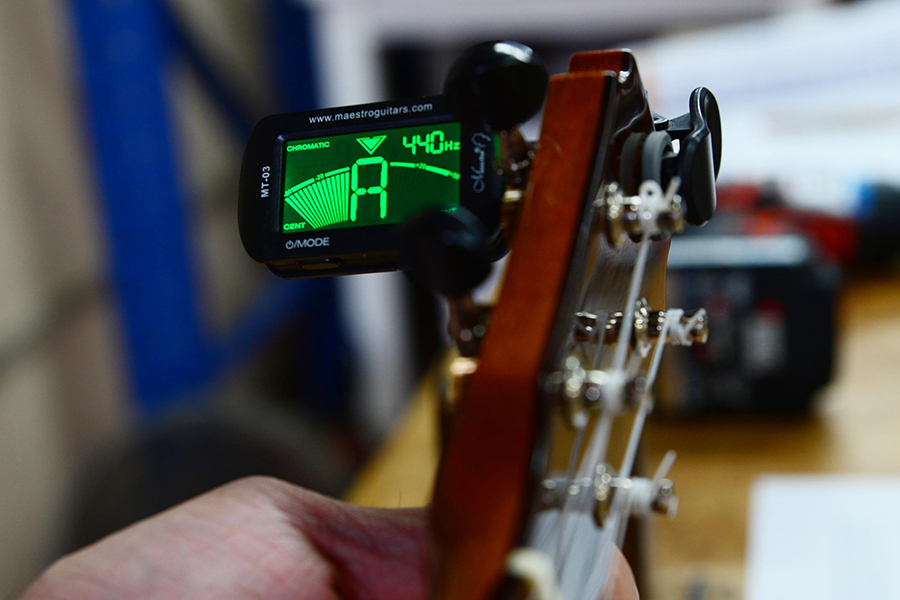
- Tune up the strings to your desired tuning. Be sure to stretch out the strings to ensure optimal tuning stability.
Changing Strings | Nylon String Guitar
- Unwind all strings one by one; be careful when doing this as fatigued strings have a tendency to snap when undergoing sudden changes in tension. Especially the wound strings.
- Classical guitars typically have the strings tied on to the string posts with knots before winding. After loosening the strings, it is advised to undo these knots to aid in removing the strings easier.
- Untie the knots of the strings on bridge, do look out for sharp ends on the strings.
- Repeat step 3.
- Do remember to condition the fretboard. Dry fretboards are the number one cause of splits or cracks in fretboards. We recommend using some lemon oil or all in one cleaning and conditioning products such as Fret Butter, both of which are available for purchase through our online store.
- Clean the frets and fretboard of any grime or dirt that may have accumulated through playing. You may use a cloth to wipe the board down, or some steel wool to restore some shine to the frets.
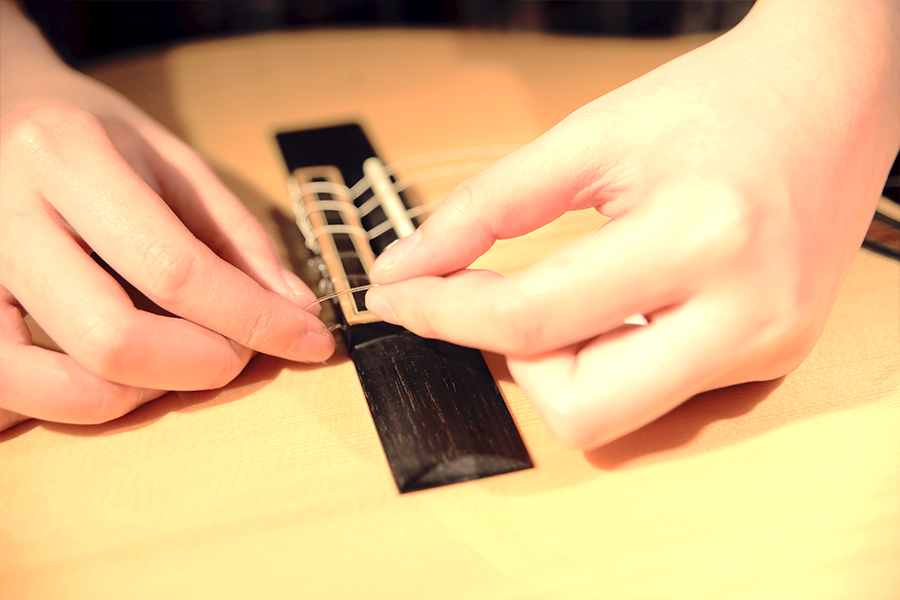
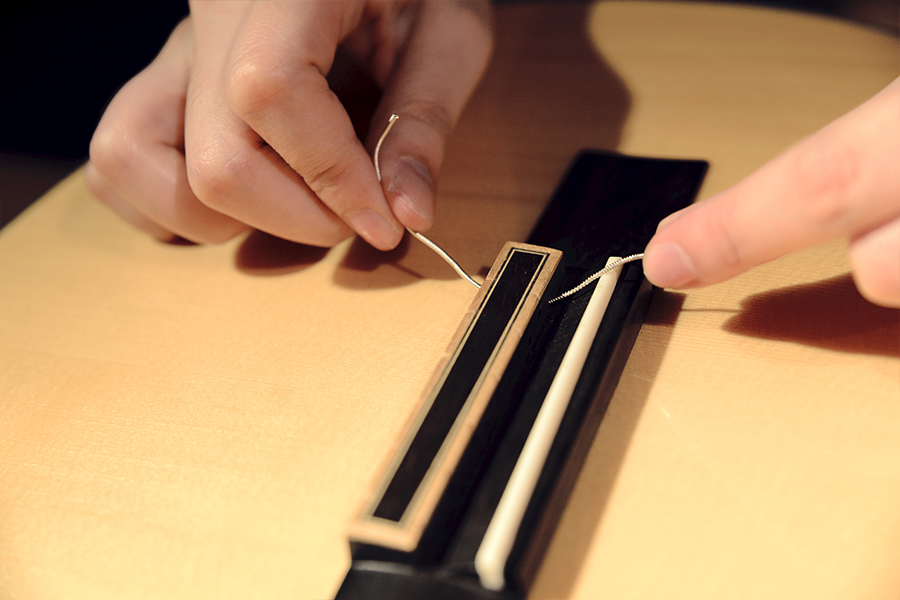
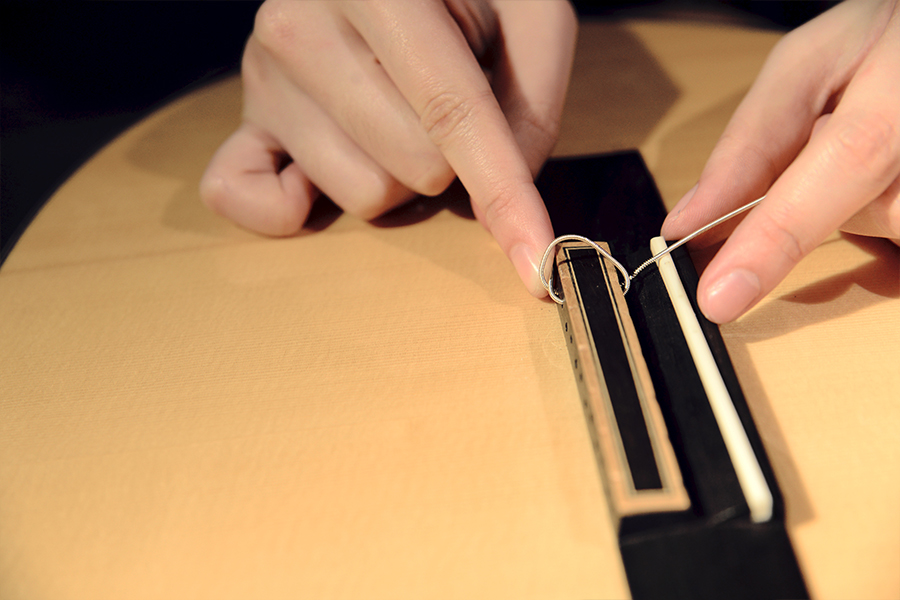
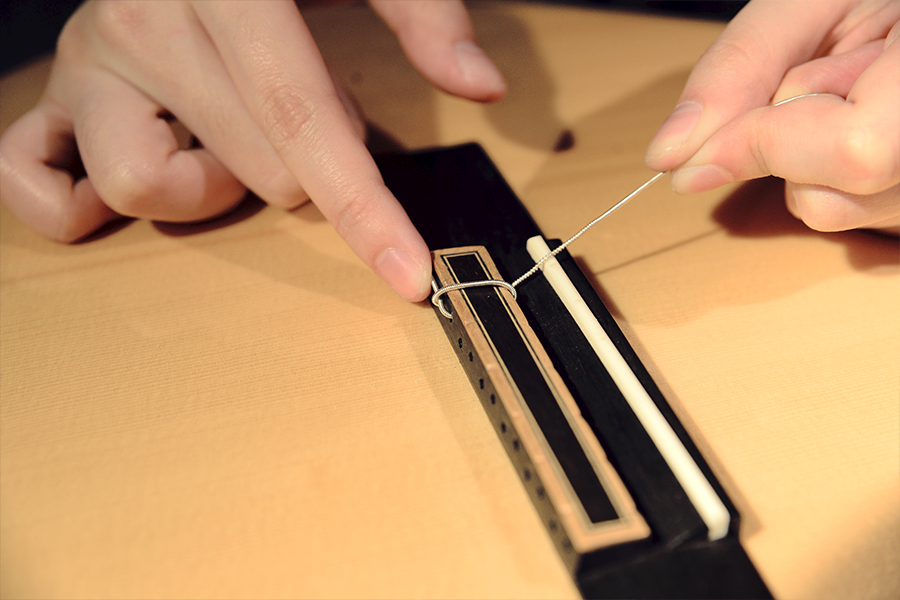
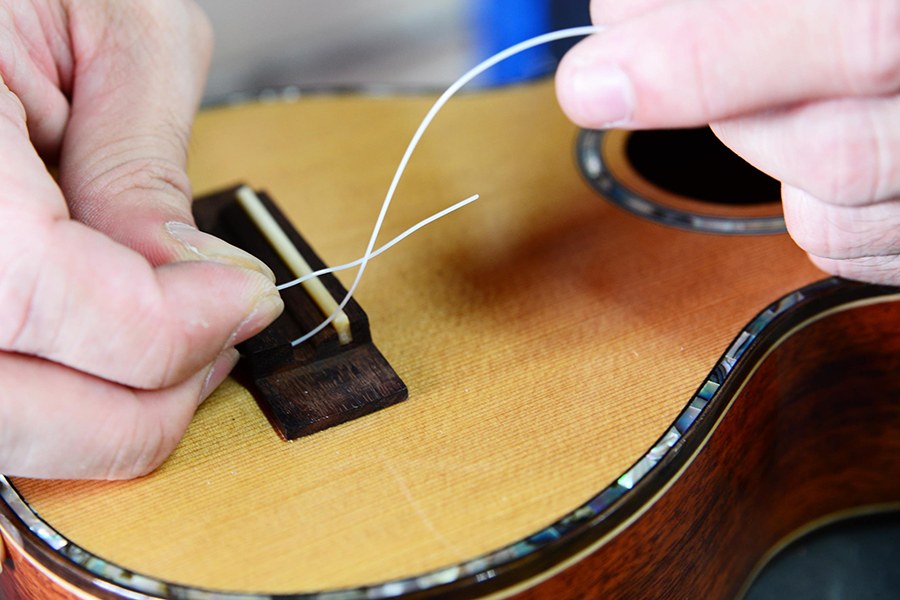
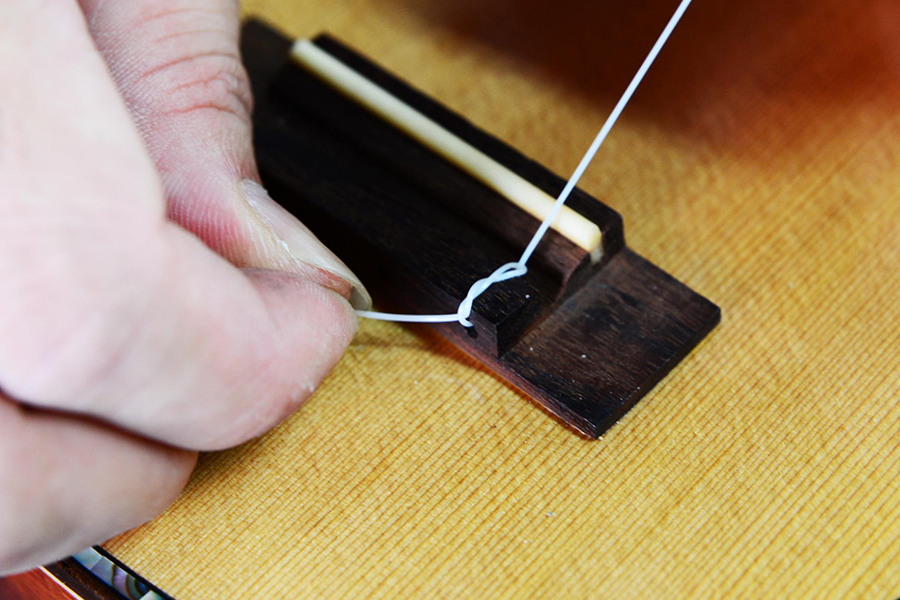
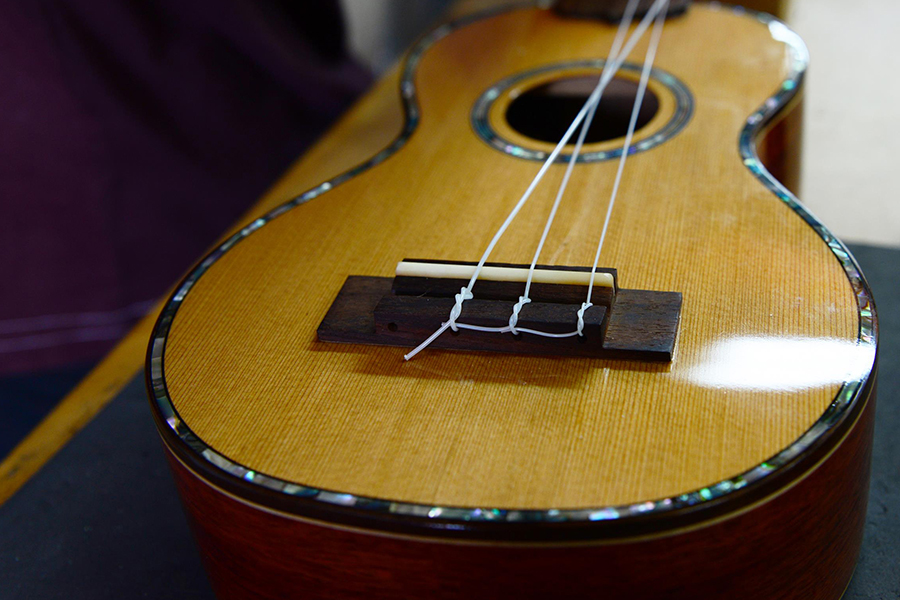
- Insert the string on the bridge and prepare to tie the knot that holds the string in place.
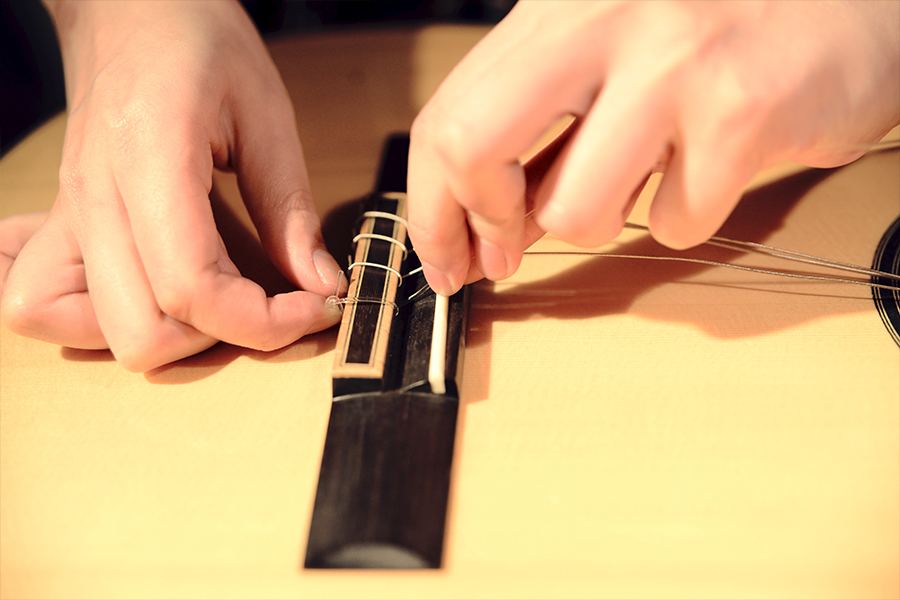
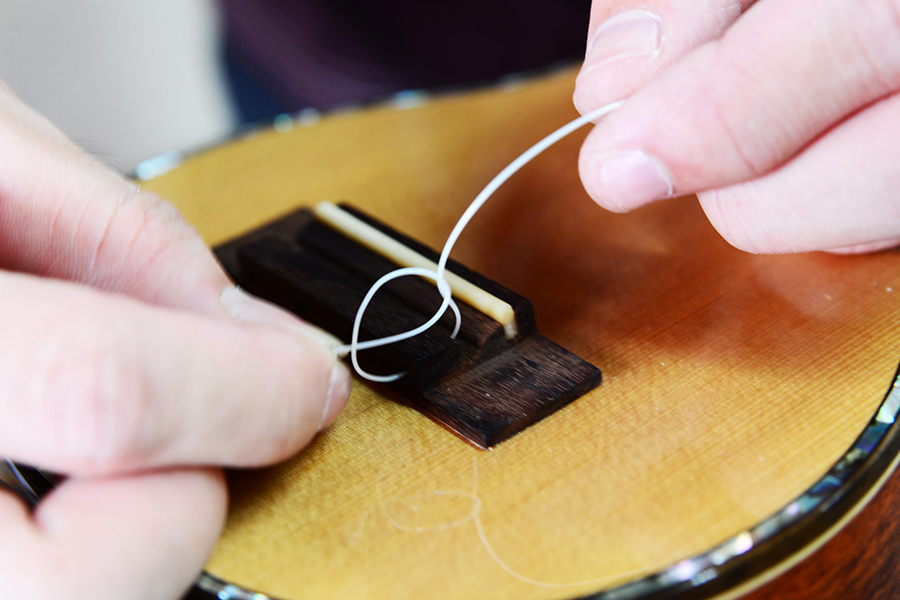
- Loop the string over and insert the string into the second hole. Maestro Classical Guitars are built with a 12-hole classical bridge design.
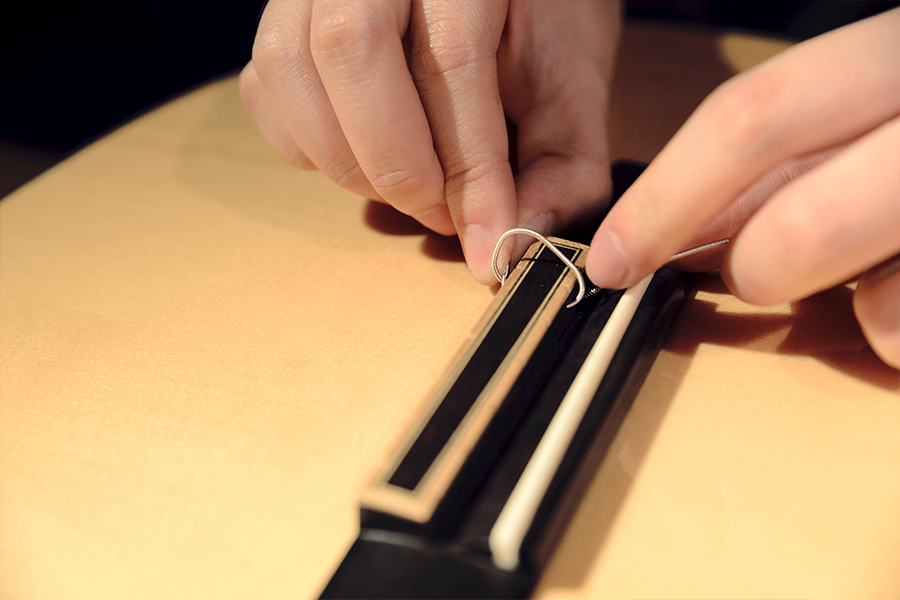
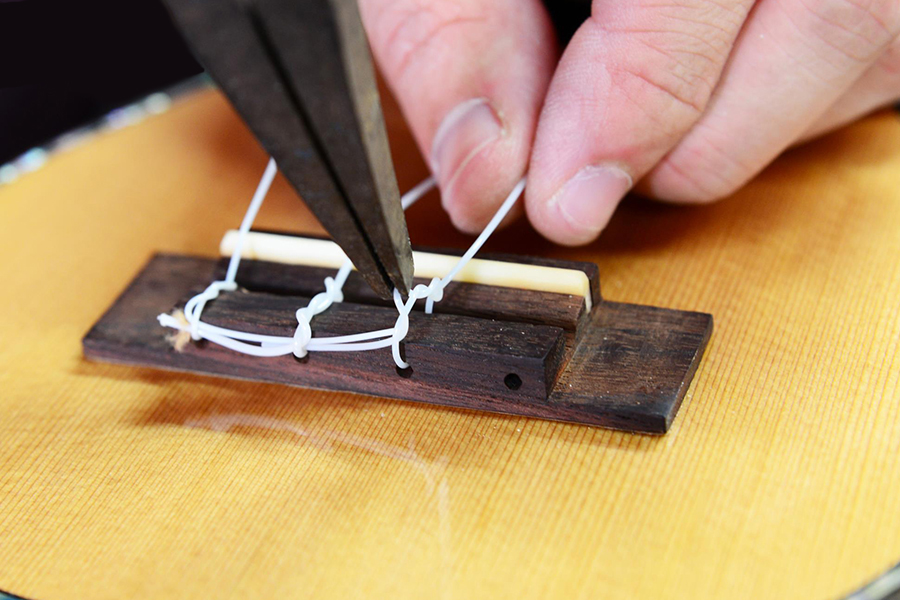
- Tuck the end of the string under the loop as this will ensure that the string is to be held down.
- Tug the string lightly a few time to check the knot to ensure that it is holding the string down securely.
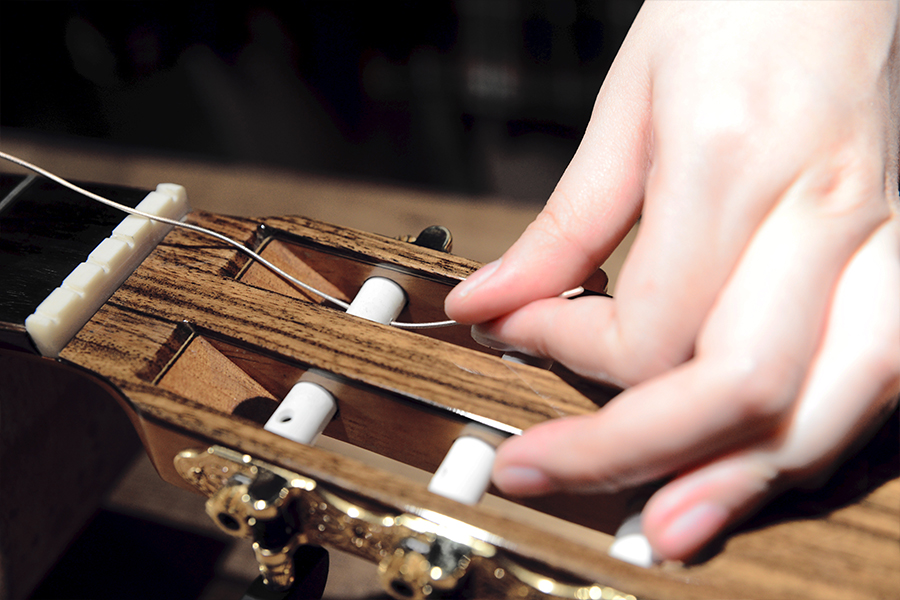
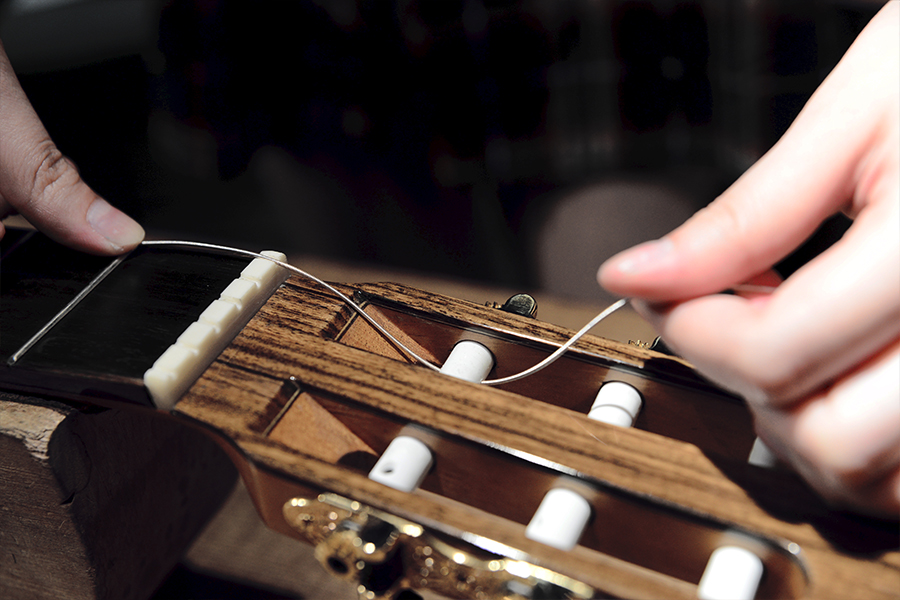
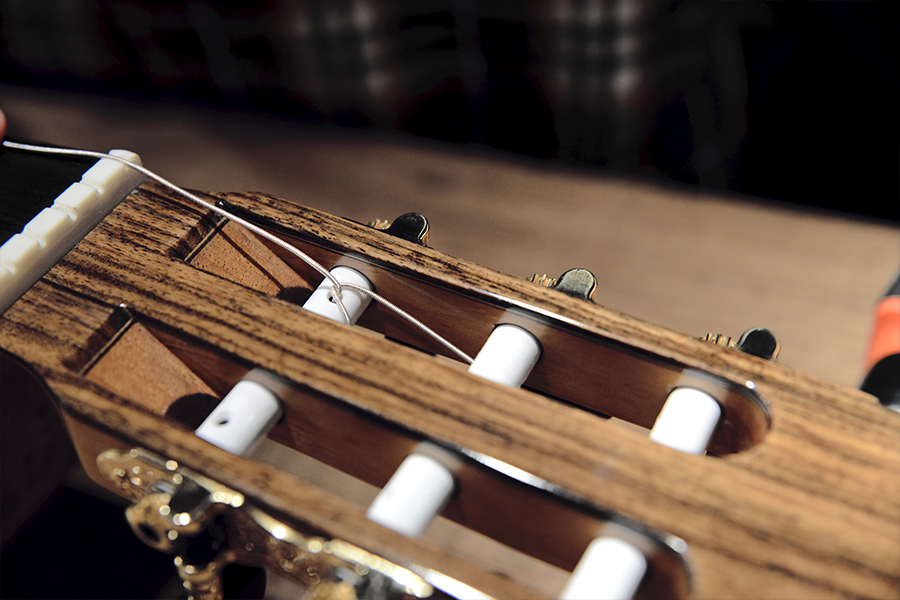
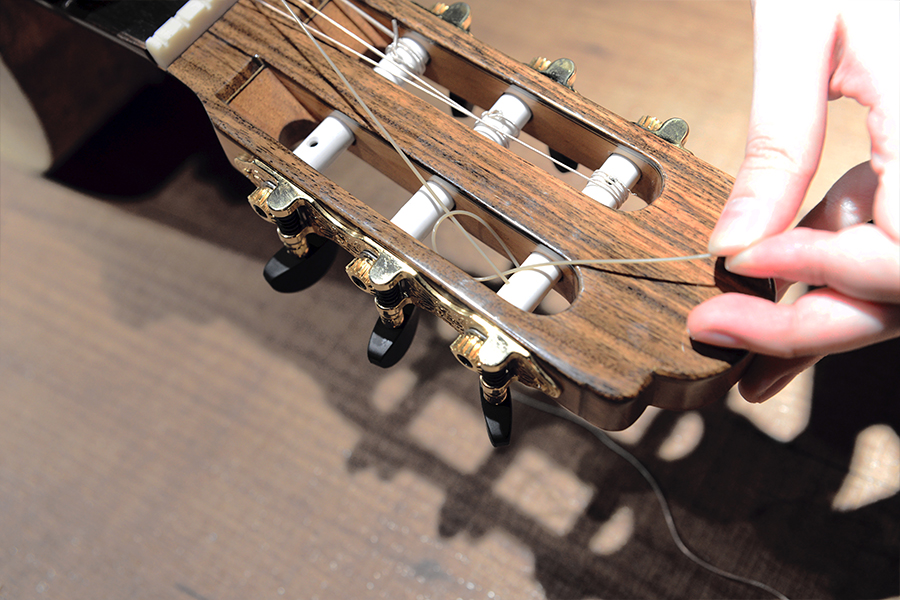
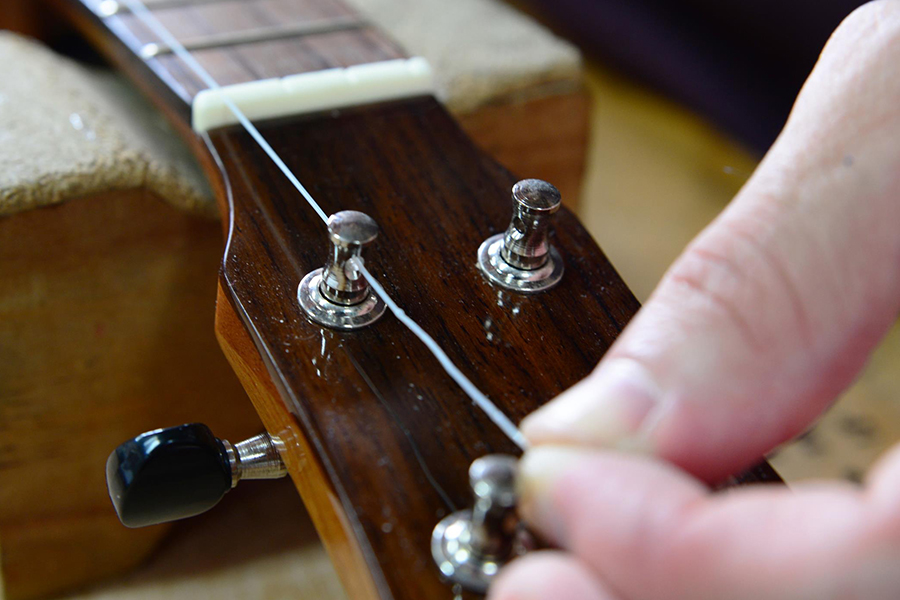
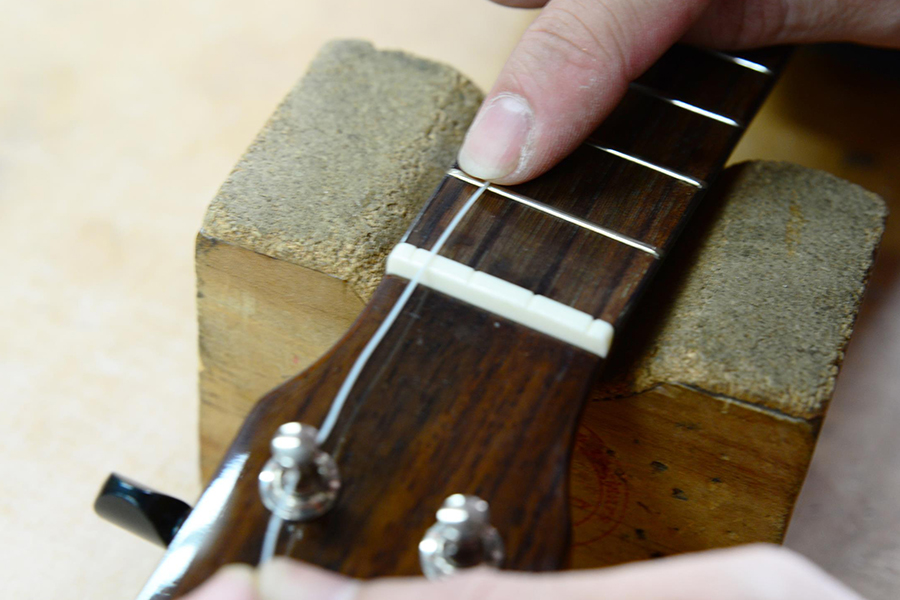
- Insert the entire string into the string post.
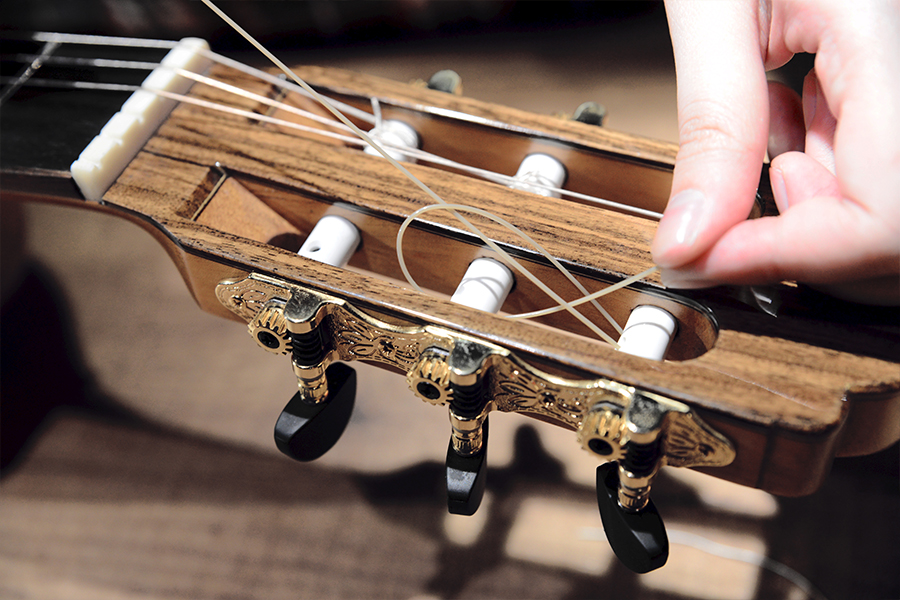
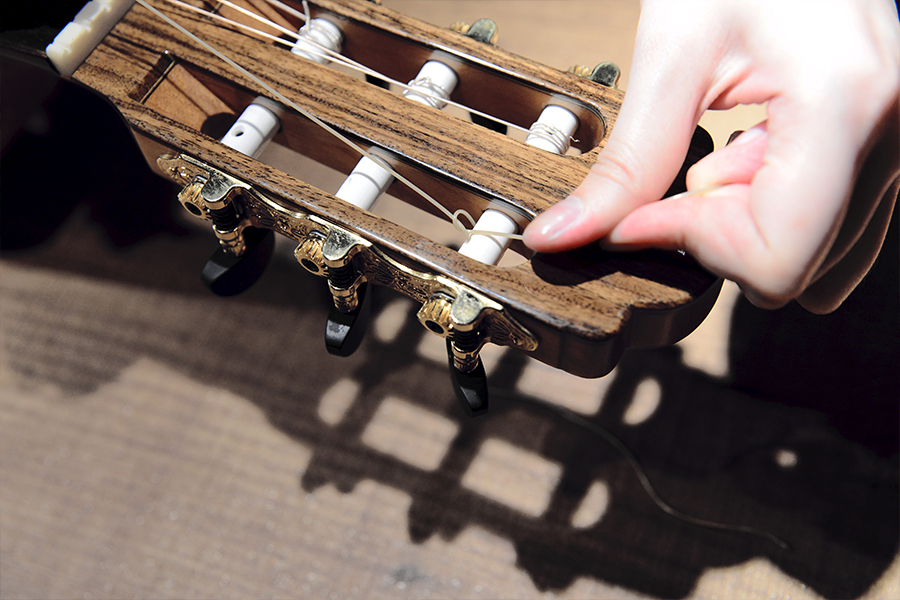
- Pull back about one fret length of string, pulling the excess string upwards.
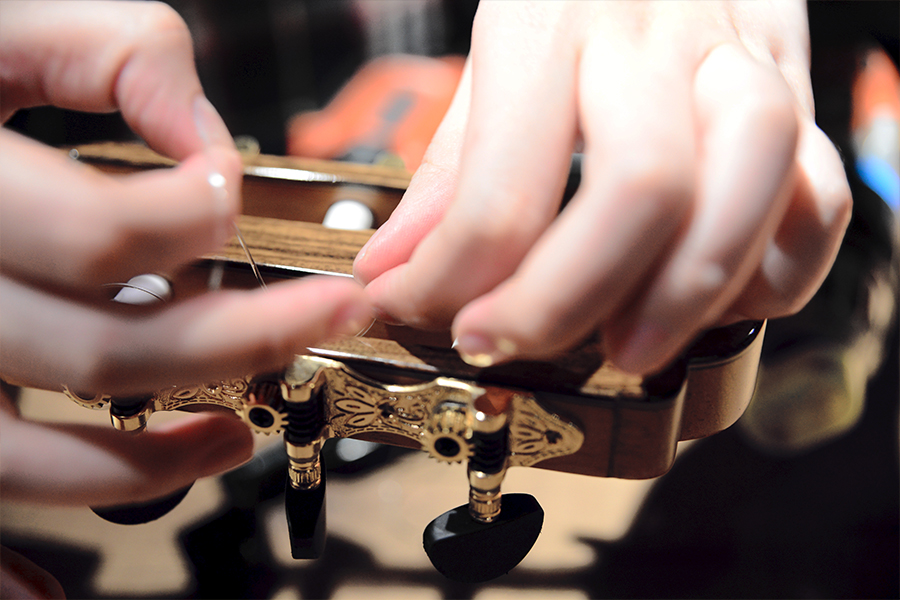
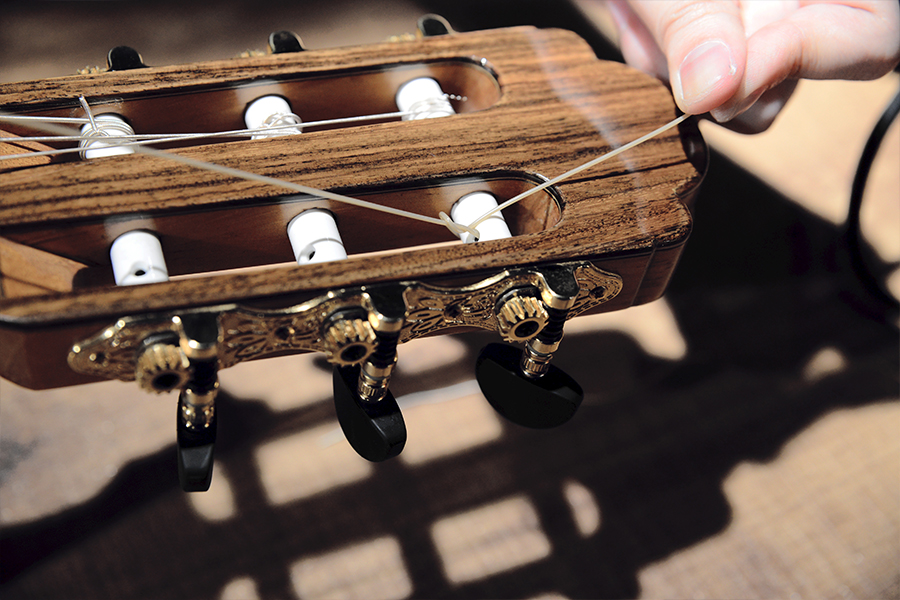
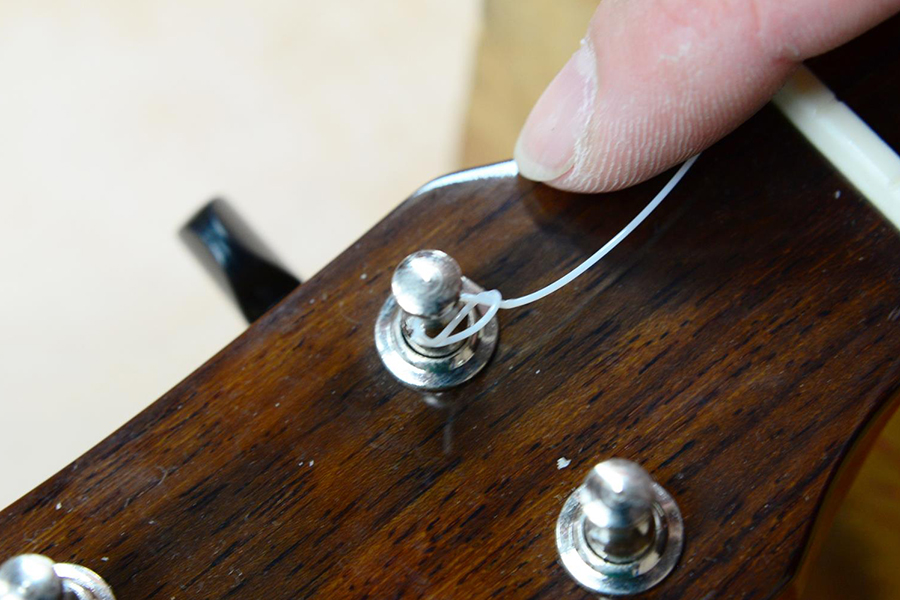
- Loop excess string over the running string to hold the string in place before winding. Wind the Low E and High E outwards.
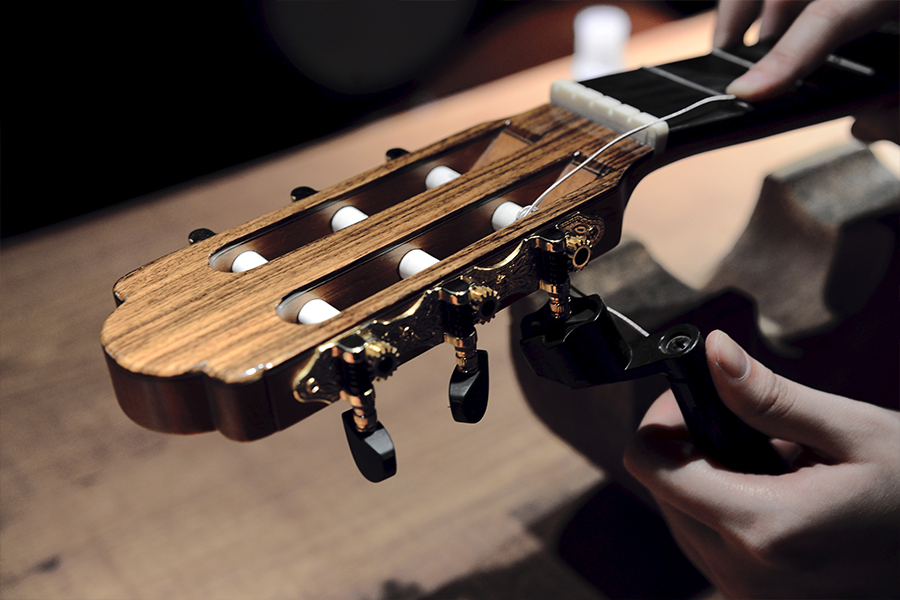
- With a string winder, or manually, wind the string on the post. Ensure that there are a minimum of 4 to 5 winds per string for optimal tuning stability. With the Low E and A, only 3 to 4 winds are required as these strings are thicker.
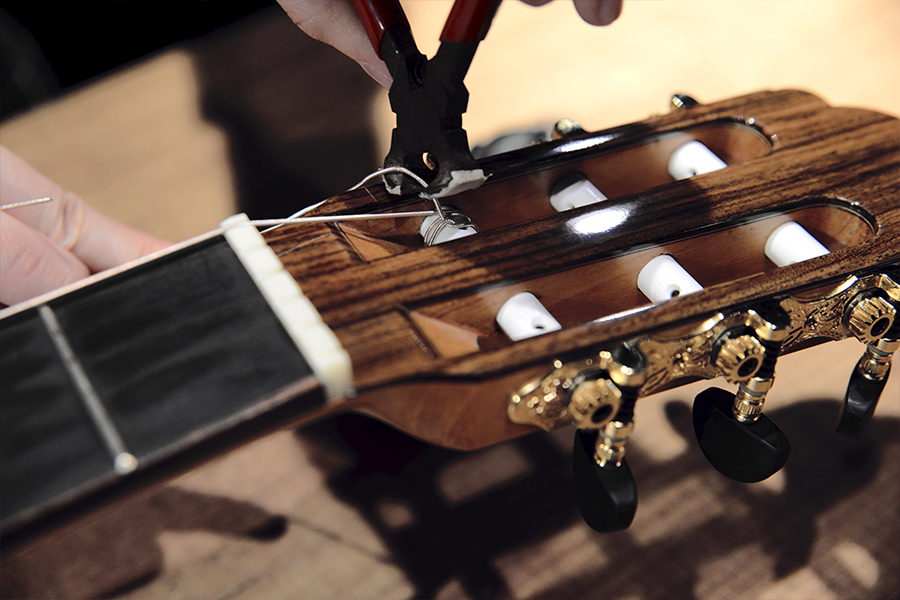
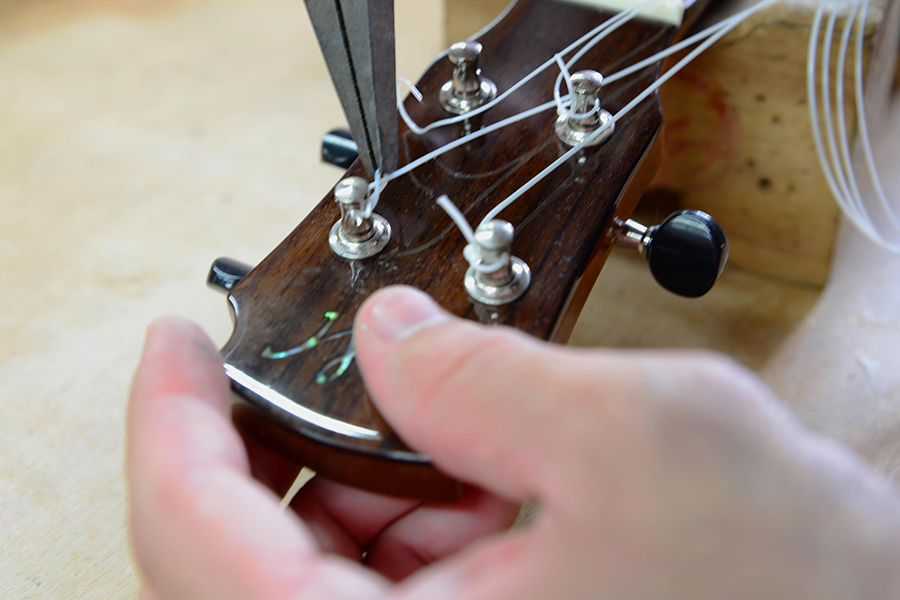
- Once there is some tension on the string, cut the excess off with a string cutter. Do take extra precaution when doing this as the string cutter may damage the finish on the headstock, especially so on classical instruments with slotted headstocks, making the working area confined.
- Repeat steps 13 thru 15. Tie knots on the posts for the G, B and High E strings as these strings will slip out of the posts during winding.
- Once all the strings are wound in, tune up the strings. Stretch the strings out to ensure that the strings achieve optimal tuning stability. This is especially on nylon stringed instruments as strings typically take longer than steel strings to stabilize.


